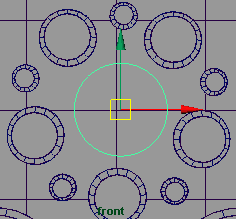
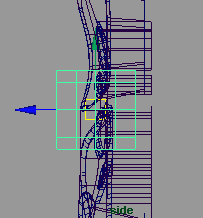
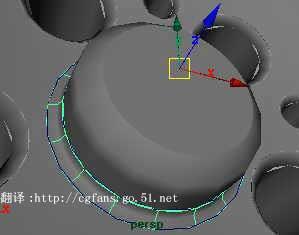
from front view, create a nurbs cylinder and rescale it to 0.234 (xyz), rotate it to 90° , drag to the center of the objects (pic 19) and translate -z axis to -0.235 (pic 20).
在前视窗中,创建一个圆柱体并将它的尺寸在 xyz 轴缩小到 0.234, 旋转 90 度 , 并将它移动到物体的中心 (pic 19) ,然后在 -z 轴上移动 -0.235 的距离 (pic 20).
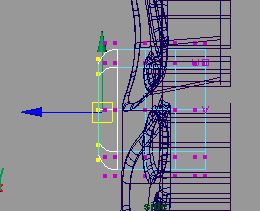
adjust the front cv's until they look like in the following image (pic 21), then select outter isoparm then surfaces > planar to close the cap (pic 22).
调整前面的 cv 点到如 (pic 21) 的效果,调整好后,选择最外面的 isoparm 线,使用 surfaces>planar 命令闭合这个车轮盖子 (pic 22).
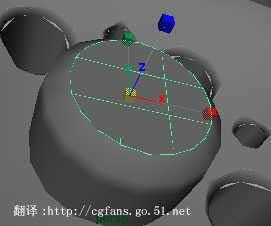
next, you need to fillet the cap body with a value of 0.030 ( normal fillet direction ) (pic 23).
接下的,你需要 fillet 盖子, circular fillet 的值为 0.030(pic 23).
ok, now you can hide all helper curves/shapes, select all objects and apply a default phong-e material as soft steel and set the main color to just a little bit brighter than default (i.e. v=0.678) on hsv color sliders :)
ok, 现在你可以将所有的补助线隐藏起来,选择所有物体,并给它们一个缺省的 phonge 材质,调整 phonge 材质的主颜色 (main color) ( 在 hsv 色板上 v 的取值约为 0.678).
final check before render :
渲染前的检查 :
select edit > select all by type > nurbs surfaces , go to rendering module, go to render > set nurbs tessellation > option box , set the curvature tolerance to highest value , set the u and v division factor to 5, then hit set and close.
edit > select all by type > nurbs surfaces , 到 rendering module , 再到 render > set nurbs tessellation > option box , 将 curvature tolerance 设为 highest value , 将 u 和 v division facto 设为 5, 然后 set and close .
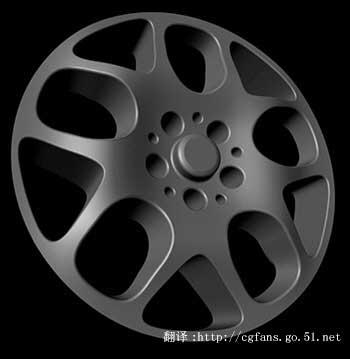
be sure your render global has been set to production quality (and raytracing if you want). now render it, you should have this lovely nurbs...
确认你在全局渲染的设置里设置为产品质量 ( 还有光线跟踪 -- 如果你想的话 ), 然后渲染它,你将得到 ....
ooohh mommyyyy....its a brabussss...!!!
新闻热点
疑难解答