本篇文章介绍自定义View配合属性动画来实现如下的效果

实现思路如下:
- 根据播放按钮的图片大小计算出圆形进度条的大小
- 根据音频的时间长度计算出圆形进度条绘制的弧度
- 通过Handler刷新界面来更新圆形进度条的进度
具体实现过程分析:
首先来看看自定义View中定义的一些成员变量
//表示坐标系中的一块矩形区域 private RectF mRectF; //画笔 private Paint mPaint; //画笔宽度 private int mCircleStoreWidth = 3; //最大进度值 private int mMaxProcessValue = 100; //进度值 private int mProcessValue; private int width; private int height; //播放器按钮id值 private int bitmapPlay; private int bitmapStop; //播放器按钮Bitmap对象 private Bitmap drawBitmapPlay; private Bitmap drawBitmapStop; private Context context; //标记是否正在播放中 private boolean isPlay;
初始化自定义View,在这里获取播放器按钮图片以及初始化画布画笔对象以及设置将画笔设置抗锯齿
private void init(Context context, AttributeSet attrs, int defStyleAttr) { this.context = context; TypedArray a = context.obtainStyledAttributes(attrs, R.styleable.circle_progress_image_attrs); bitmapPlay = a.getResourceId(R.styleable.circle_progress_image_attrs_play_image, R.mipmap.play_button); bitmapStop = a.getResourceId(R.styleable.circle_progress_image_attrs_stop_image, R.mipmap.stop_button); a.recycle(); drawBitmapPlay = BitmapFactory.decodeResource(context.getResources(), bitmapPlay); drawBitmapStop = BitmapFactory.decodeResource(context.getResources(), bitmapStop); mRectF = new RectF(); mPaint = new Paint(); mPaint.setAntiAlias(true); } 这里使用了自定义attrs来获取播放器按钮图片
在attrs.xml中新建如下:
<declare-styleable name="circle_progress_image_attrs"> <attr name="play_image" format="reference"/> <attr name="stop_image" format="reference"/> </declare-styleable>
然后在xml布局的自定义View中加入就能获取图片的id值了
circle:play_image="@mipmap/play_button" circle:stop_image="@mipmap/stop_button"
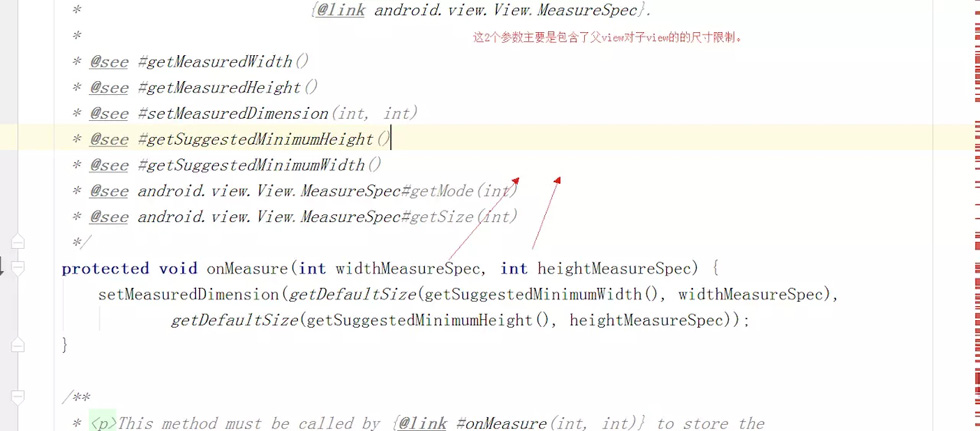
然后我们重写onMeasure()来测量圆形进度条绘制的位置
@Override protected void onMeasure(int widthMeasureSpec, int heightMeasureSpec) { super.onMeasure(widthMeasureSpec, heightMeasureSpec); width = measureWidth(widthMeasureSpec); height = measureWidth(heightMeasureSpec); mRectF.left = width / 2 - drawBitmapPlay.getWidth() / 2; mRectF.top = height / 2 - drawBitmapPlay.getHeight() / 2; mRectF.right = width / 2 + drawBitmapPlay.getWidth() / 2; mRectF.bottom = height / 2 + drawBitmapPlay.getHeight() / 2; } public int measureWidth(int measureSpec) { int result = 0; int specMode = MeasureSpec.getMode(measureSpec); int specSize = MeasureSpec.getSize(measureSpec); if (specMode == MeasureSpec.EXACTLY) { result = specSize; } else { result = 200; if (specMode == MeasureSpec.AT_MOST) { result = Math.min(specSize, result); } } return result; } 获取播放器按钮图片的大小后,计算出进度条的相应的坐标放入RectF对象中,RectF对象是用来表示坐标系中的一块矩形区域,用于在特定的位置画图
然后我们就可以通过重写onDraw()方法来绘制View了
@Override protected void onDraw(Canvas canvas) { super.onDraw(canvas); canvas.drawColor(Color.TRANSPARENT); //画圆 mPaint.setColor(ContextCompat.getColor(context, R.color.orange)); mPaint.setStyle(Paint.Style.STROKE); mPaint.setStrokeWidth(mCircleStoreWidth); // canvas.drawArc(mRectF, -90, 360, false, mPaint); mPaint.setColor(ContextCompat.getColor(context, R.color.gray)); canvas.drawArc(mRectF, -90, ((float) mProcessValue / mMaxProcessValue) * 360, false, mPaint); Log.d(TAG, ((float) mProcessValue / mMaxProcessValue) * 360 + ""); float imageLeft = width / 2 - drawBitmapPlay.getWidth() / 2; float imageTop = height / 2 - drawBitmapPlay.getHeight() / 2; if (isPlay) { canvas.drawBitmap(drawBitmapStop, imageLeft, imageTop, mPaint); } else { canvas.drawBitmap(drawBitmapPlay, imageLeft, imageTop, mPaint); } } 要点其实就是canvas.drawArc()方法在RecfF的位置里画弧形,通过音频播放的开始时间/总时间*360来计算出弧度
要注意的是每次调用onDraw()方法的时候都需要先将canvas画透明色来起到清屏的作用
通过handler来每150毫秒刷新一次界面
private Handler handler = new Handler() { public void handleMessage(Message msg) { switch (msg.what) { case 1: //定时更新界面 if (isPlay) { mProcessValue += 150; if (mProcessValue == mMaxProcessValue) { isPlay = false; } invalidate(); Message message = handler.obtainMessage(1); handler.sendMessageDelayed(message, 150); } } super.handleMessage(msg); } }; 最后是一些包装方法,很简单不仔细介绍了
public void play() { isPlay = true; Message message = handler.obtainMessage(1); handler.sendMessageDelayed(message, 150); } public void setDuration(int duration) { this.mMaxProcessValue = duration; } public void clearDuration() { this.mMaxProcessValue = 0; this.mProcessValue = 0; } public void pause() { isPlay = false; invalidate(); } public void stop() { isPlay = false; this.mMaxProcessValue = 0; this.mProcessValue = 0; invalidate(); } 音频播放的逻辑实现部分因为不属于自定义view因此可以自行参考demo
代码示例: CustomViewSamples
以上就是本文的全部内容,希望对大家的学习有所帮助,也希望大家多多支持VEVB武林网。
注:相关教程知识阅读请移步到Android开发频道。