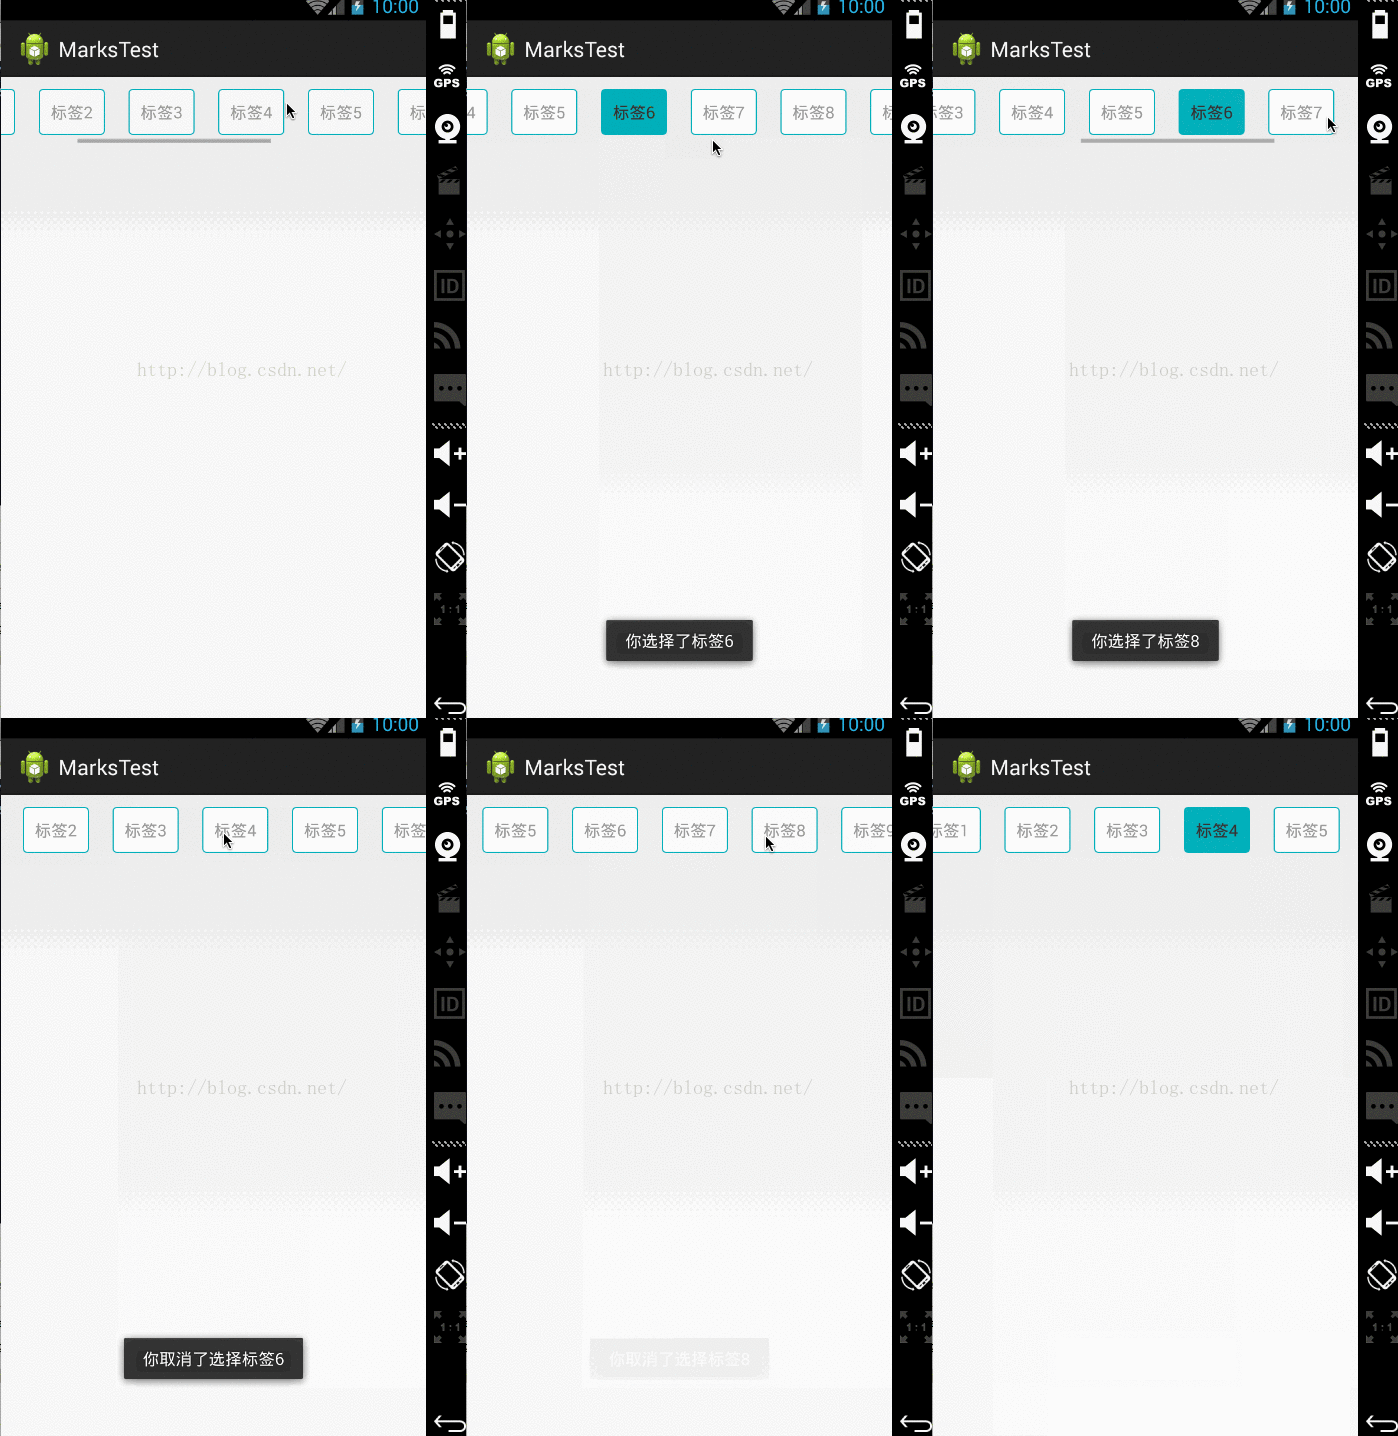
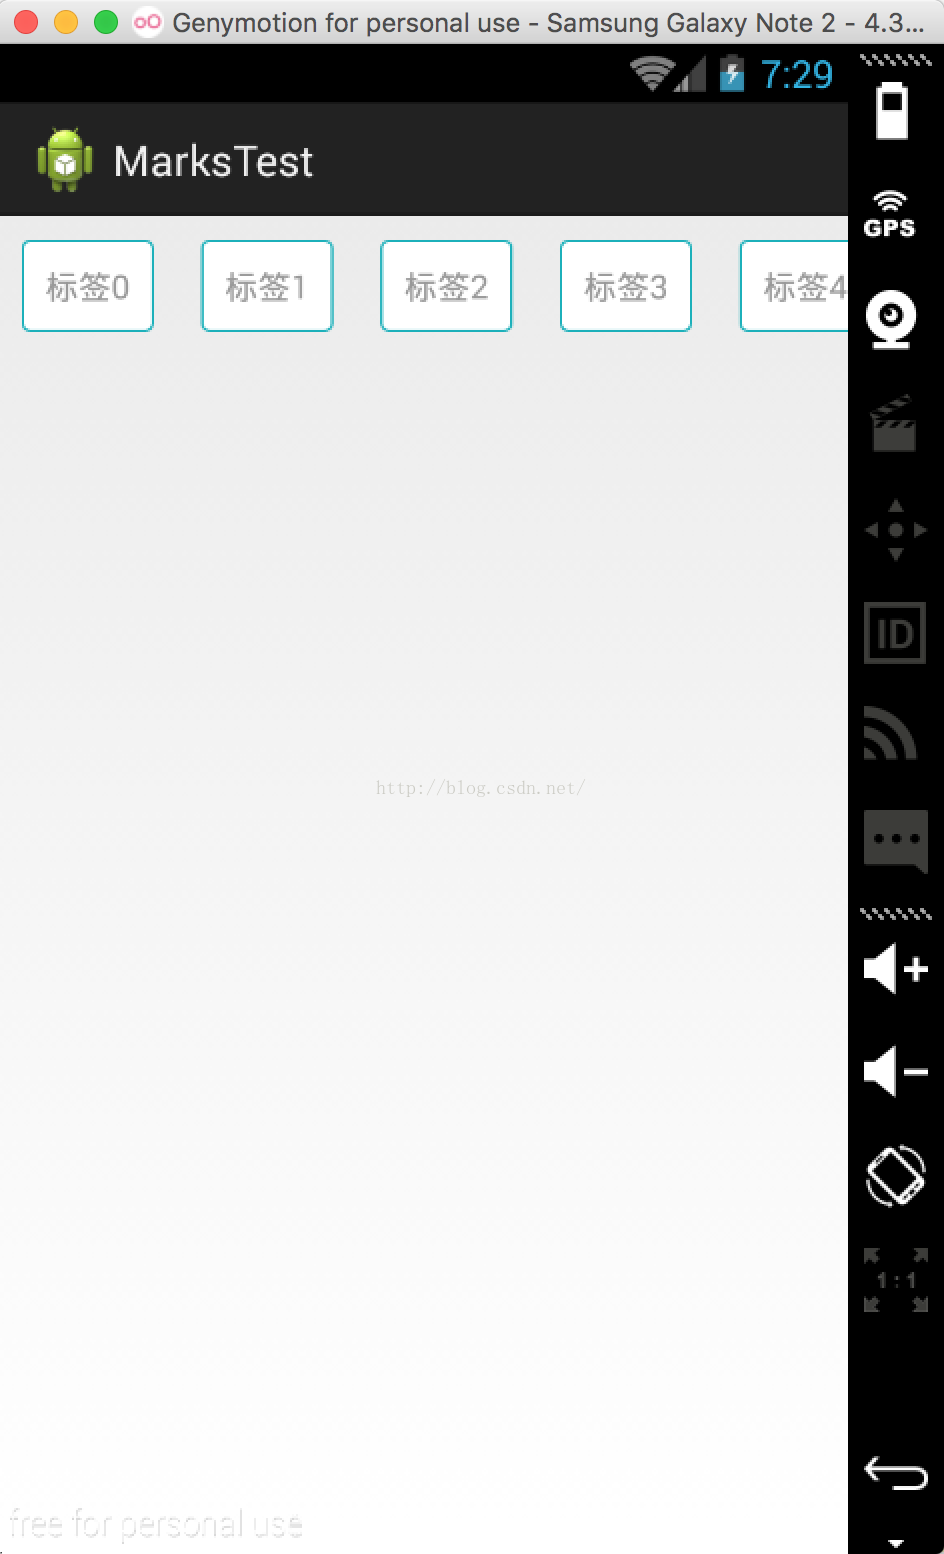
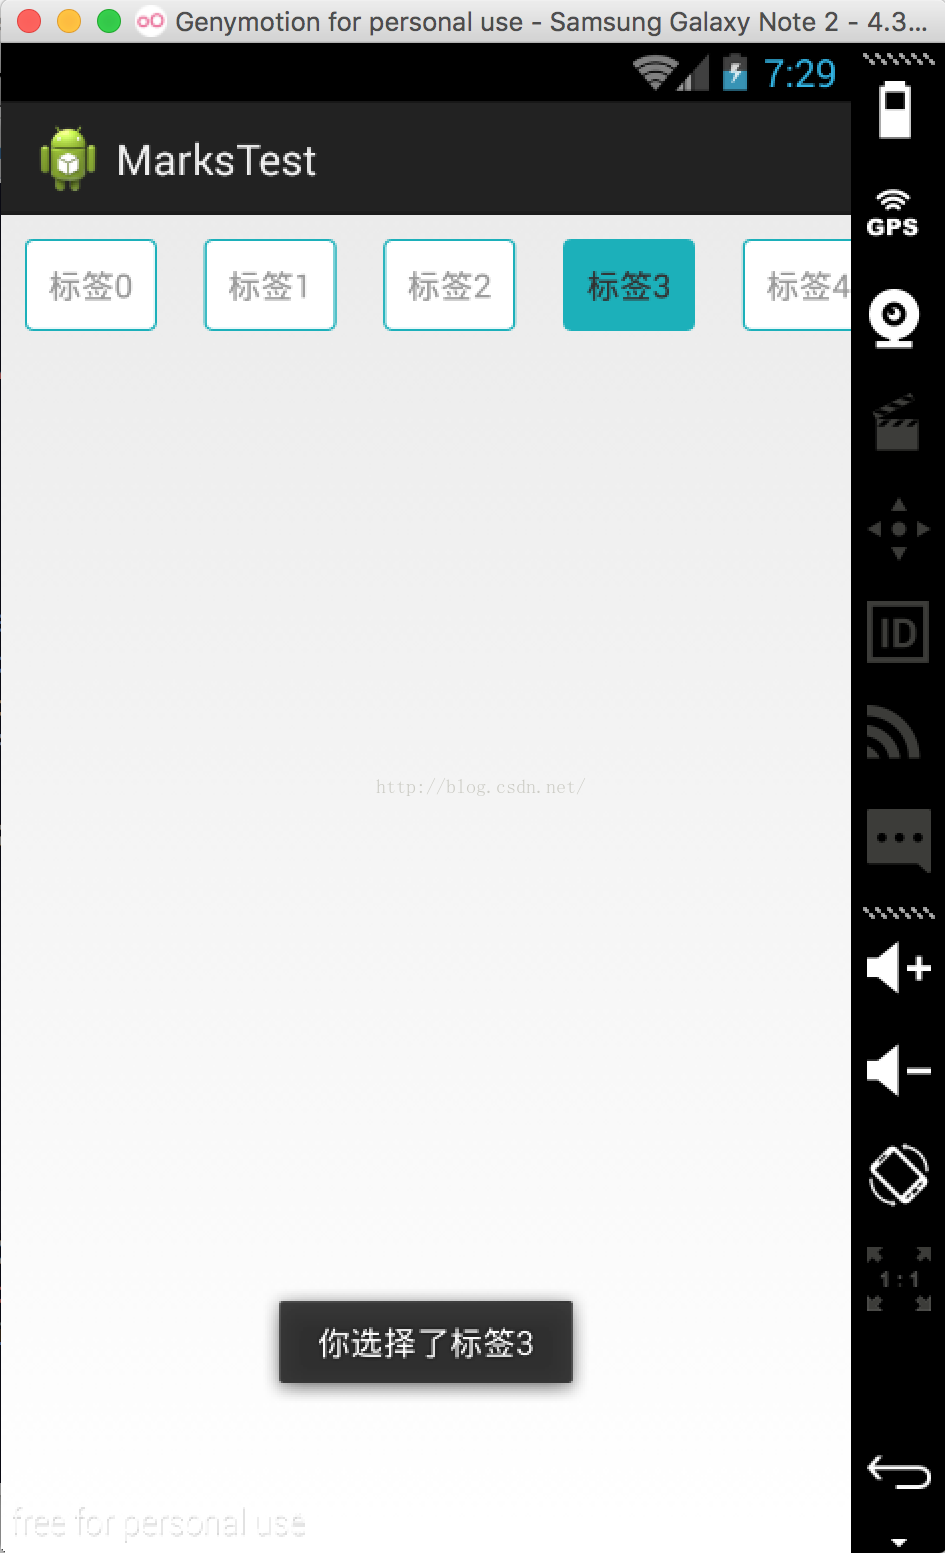
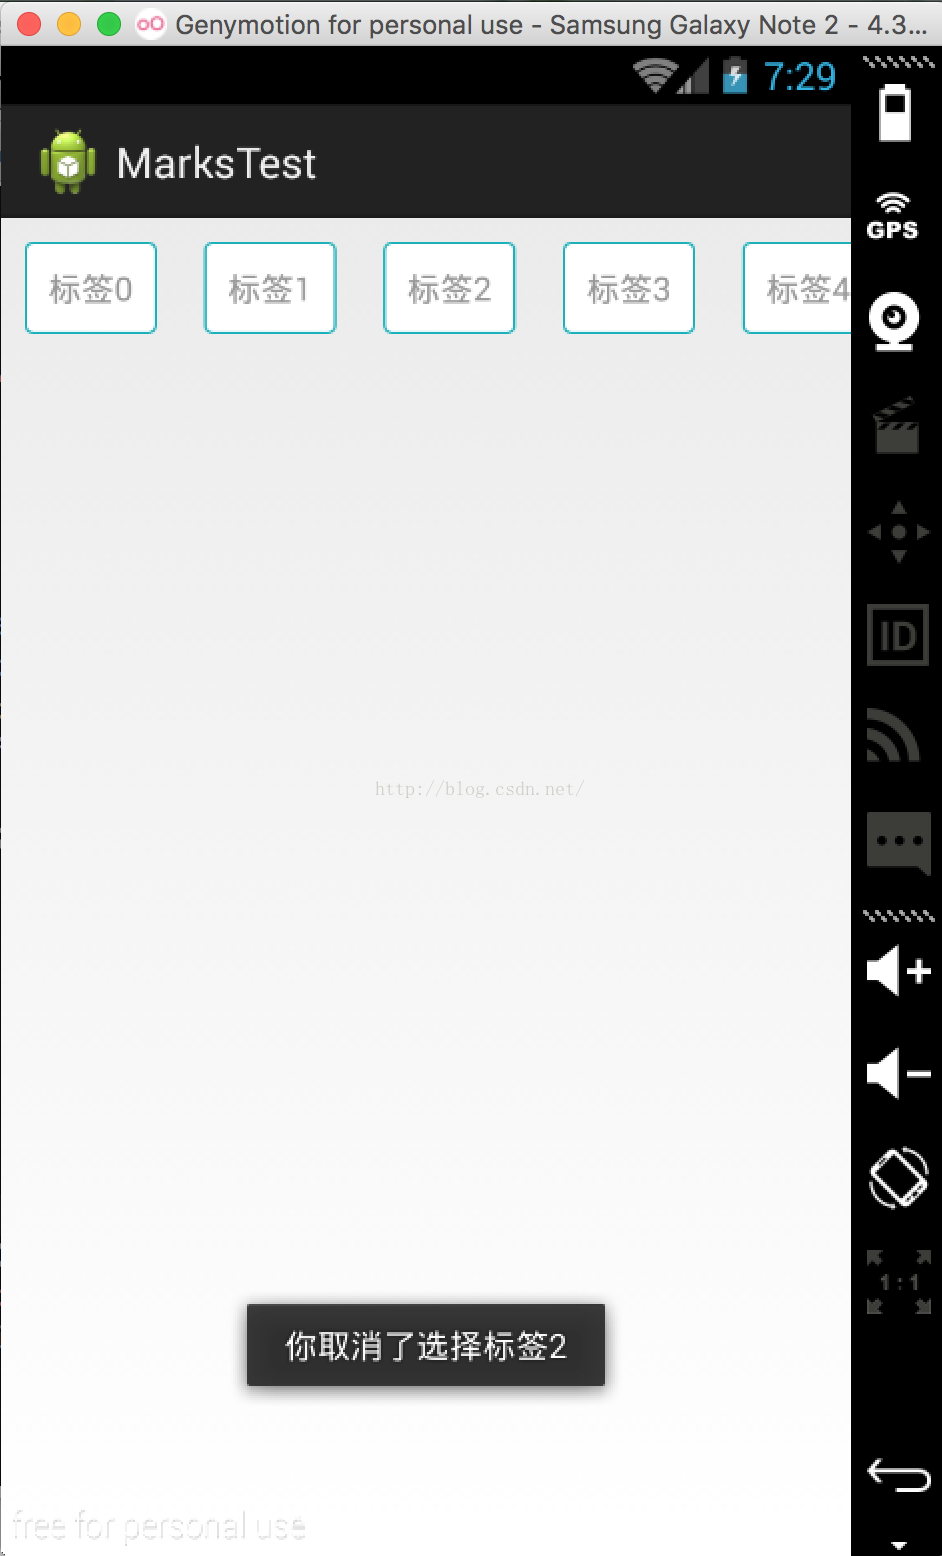
在做Android开发的时候,会遇到动态添加标签让用户选择的功能,所以自己写了个例子,运行效果图如下。


标签可以左右滑动进行选择,点击的时候,会弹出toast提示选择或者取消选择了哪个标签。通过动态添加TextView作为标签,并给TextView设置背景,通过selector选择器改变其背景颜色,来确定是否处于选中状态。
代码如下所示:
1、标签的布局文件,我在标签里只设置了一个TextView
<?xml version="1.0" encoding="utf-8"?><LinearLayout xmlns:android="http://schemas.android.com/apk/res/android" android:layout_width="match_parent" android:layout_height="match_parent" android:orientation="vertical" > <TextView android:id="@+id/textView1" android:layout_width="wrap_content" android:layout_height="wrap_content" android:layout_margin="10dp" android:background="@drawable/mark_select" android:enabled="false" android:padding="10dp" android:text="TextView" /> </LinearLayout>
2、在res文件夹下新建drawable文件夹,标签的背景设为@drawable/mark_select,代码如下所示:
<?xml version="1.0" encoding="utf-8"?><selector xmlns:android="http://schemas.android.com/apk/res/android" > <item android:drawable="@drawable/mark_notbeselected" android:state_enabled="false"/> <item android:drawable="@drawable/mark_beselected" android:state_enabled="true"/> </selector>
当标签处于选中状态,背景为@drawable/mark_beselected,当标签处于未选中状态,背景为@drawable/mark_notbeselected
其中mark_notbeselected代码为:
<?xml version="1.0" encoding="utf-8"?><shape xmlns:android="http://schemas.android.com/apk/res/android" > <solid android:color="#ffffff" /> <corners android:radius="3dip" /> <stroke android:width="1dip" android:color="#1cb0ba" /> </shape>
mark_beselected代码为:
<?xml version="1.0" encoding="utf-8"?><shape xmlns:android="http://schemas.android.com/apk/res/android" > <solid android:color="#1cb0ba" /> <corners android:radius="3dip" /> <stroke android:width="1dip" android:color="#1cb0ba" /> </shape>
3、主页面布局文件里包括一个水平滚动条HorizontalScrollView,代码如下:
<LinearLayout xmlns:android="http://schemas.android.com/apk/res/android" android:layout_width="fill_parent" android:layout_height="fill_parent" android:orientation="vertical" > <HorizontalScrollView android:id="@+id/horizontalScrollView1" android:layout_width="match_parent" android:layout_height="wrap_content" > <LinearLayout android:id="@+id/linearLayout1" android:layout_width="match_parent" android:layout_height="match_parent" android:orientation="horizontal" > </LinearLayout> </HorizontalScrollView> </LinearLayout>
4、MainActivity.java代码如下所示:
public class MainActivity extends Activity { List<String> list; private LinearLayout linearLayout; @Override protected void onCreate(Bundle savedInstanceState) { super.onCreate(savedInstanceState); setContentView(R.layout.activity_main); linearLayout = (LinearLayout) findViewById(R.id.linearLayout1); //添加标签内容 list = new ArrayList<String>(); for (int i = 0; i < 10; i++) { String str = "标签" + i; list.add(str); } //初始化标签 initMarksView(); } private void initMarksView() { for (int i = 0; i < list.size(); i++) { View view = View.inflate(MainActivity.this, R.layout.mark_layout, null); TextView tv = (TextView) view.findViewById(R.id.textView1); tv.setText(list.get(i)); tv.setTag(i); view.setTag(false); // 设置view的点击事件,与onClick中的View一致 //否则需要在onClick中,去findViewById,找出设置点击事件的控件进行操作 //若不如此,则无法触发点击事件 view.setOnClickListener(new OnClickListener() { @Override public void onClick(View v) { // TODO Auto-generated method stub TextView tv = (TextView) v.findViewById(R.id.textView1); Log.i("dxl", "TextView click"); if ((Boolean) v.getTag()) { v.setTag(false); tv.setEnabled(false); Toast.makeText(MainActivity.this, "你取消了选择标签" + tv.getTag(), Toast.LENGTH_SHORT).show(); } else { v.setTag(true); tv.setEnabled(true); Toast.makeText(MainActivity.this, "你选择了标签" + tv.getTag(), Toast.LENGTH_SHORT).show(); } } }); linearLayout.addView(view); } }} 至此,便实现了动态添加表情,并可以处理标签点击事件的功能。
源代码下载:Android动态添加标签及其点击事件
以上就是本文的全部内容,希望对大家的学习有所帮助,也希望大家多多支持VEVB武林网。
注:相关教程知识阅读请移步到Android开发频道。