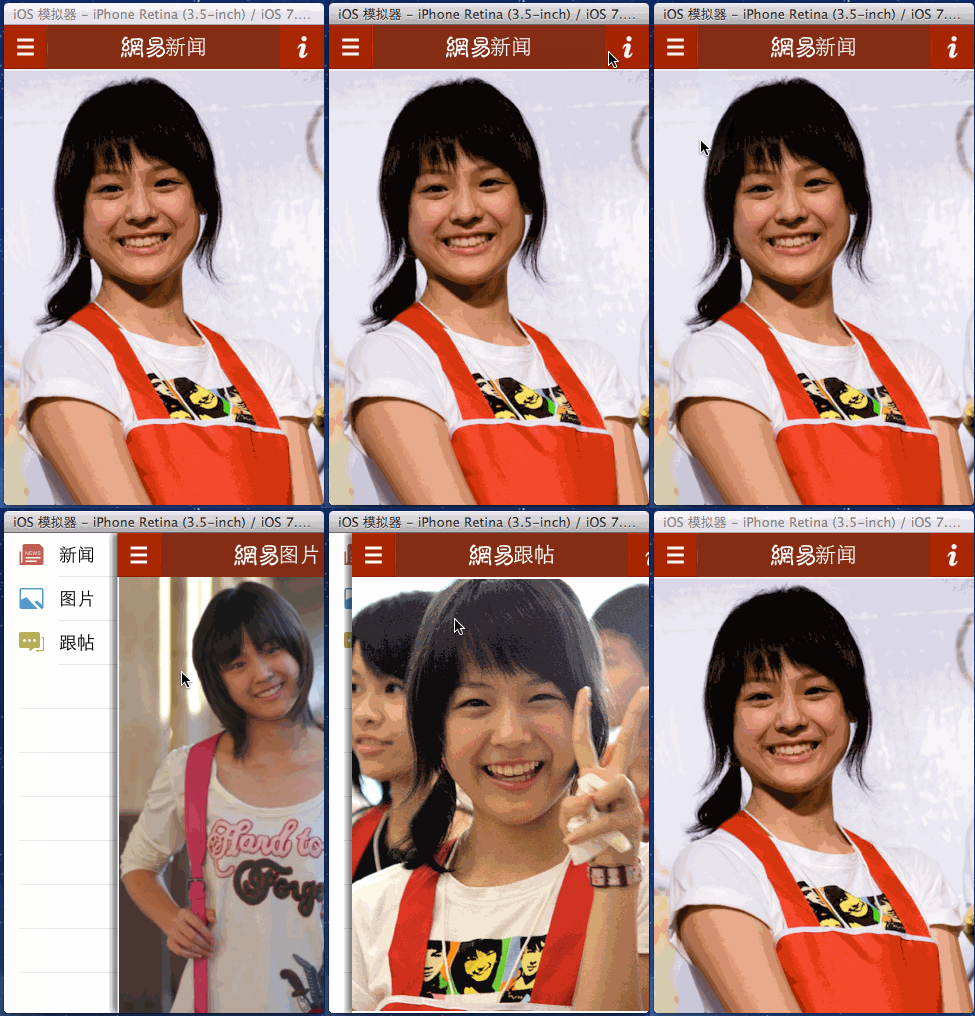
最终效果图:
MoreViewController.m
//// MoreViewController.m// 20_帅哥no微博//// Created by beyond on 14-8-4.// Copyright (c) 2014年 com.beyond. All rights reserved.//#import "MoreViewController.h"@interface MoreViewController (){ // more.plist根是字典,有两对Key Value,其中有一对是zh_CN,对应的值是数组,数组的长度就是有多少个分组,数组的每一个元素也是一个数组, // 由不同的分组,组成的数组 NSArray *_groups;}@end@implementation MoreViewController- (void)viewDidLoad{ [super viewDidLoad]; log(@"view %@",NSStringFromCGRect(self.view.frame)) ; // 1.设置导航条上面 右边的设置按钮 [self setRightBarButtonItem]; // 2.加载more.plist [self loadPlistOfMore]; // 3.设置tableView的全局背景 [self setTableViewGlobalBg]; // 4.添加 退出按钮 到tableView的最底部的TableFooterView [self addEixtBtnAtBottom];}// 1,设置导航条上面 右边的按钮- (void)setRightBarButtonItem{ self.navigationItem.rightBarButtonItem = [[UIBarButtonItem alloc] initWithTitle:@"设置" style:UIBarButtonItemStylePlain target:self action:@selector(settings)];}// 2,加载more.plist文件- (void)loadPlistOfMore{ NSURL *url = [[NSBundle mainBundle] URLForResource:@"more" withExtension:@"plist"]; // 由一个个分组 组成的数组,分组的成员也就是数组,则一行行组成的数组 _groups = [NSDictionary dictionaryWithContentsOfURL:url][@"zh_CN"];}// 3,设置tableView的全局背景- (void)setTableViewGlobalBg{ // 清除ios 7 中tableView顶部的多出的空白区域 self.automaticallyAdjustsScrollViewInsets = NO; // 设置scrollView额外的滚动区域// self.tableView.contentInset = UIEdgeInsetsMake(<#CGFloat top#>, <#CGFloat left#>, <#CGFloat bottom#>, <#CGFloat right#>) // 重要~ ~当tableview的样式为group时,如果想更换背景,必须先清除条纹状的自带的backgroundView,然后才可以设置tableView的背景颜色 self.tableView.backgroundView = nil; self.tableView.backgroundColor = kGlobalBg; // 缩小每一分组之间的间距 self.tableView.sectionHeaderHeight = 0; self.tableView.sectionFooterHeight = 5;}// 4,创建退出按钮 并添加到tableView的最底部的TableFooterView- (void)addEixtBtnAtBottom{ // 1,创建一个footerView,将它作为tableView的TableFooterView UIView *footerView = [[UIView alloc] init]; // tableView的TableFooterView的宽度固定是320,只有高度可调节 footerView.frame = CGRectMake(0, 0, 320, 60); // 将刚才创建的footerView作为tableView的TableFooterView,目的是防止用户点击底部dockItem时不小心点到了退出按钮,因此要设置一个额外的空间,补充一下TableFooterView的宽度固定是320 self.tableView.tableFooterView = footerView; // 2,创建退出按钮 并添加到tableView的最底部的TableFooterView UIButton *btnExit = [UIButton buttonWithType:UIButtonTypeCustom]; // footerView是作为tableView的TableFooterView存在,按钮是加到了footerView里面,这儿按钮的frame x 10 y 5是相对于footerView的 btnExit.frame = CGRectMake(10, 5, 300, 40); // 按钮上字体大小 btnExit.titleLabel.font = [UIFont systemFontOfSize:17]; // 按钮的监听点击事件 [btnExit addTarget:self action:@selector(exitBtnClick) forControlEvents:UIControlEventTouchUpInside]; // 分类方法,设置按钮正常和高亮时背景图片(可拉伸) [btnExit setBtnBgImgForNormalAndHighightedWithName:@"common_button_red.png"]; // 设置按钮上的文字,最后一组,数组只有一行,每一行就是一个字典 NSString *btnTitle = [_groups lastObject][0][@"name"]; [btnExit setTitle:btnTitle forState:UIControlStateNormal]; // 3,最重要的一步,将刚才创建的 退出按钮 添加到tableView的TableFooterView //[footerView addSubview:btnExit]; [self.tableView.tableFooterView addSubview:btnExit];}// 响应点击设置点击事件- (void)settings{ log(@"点击了设置按钮");}// 点击 退出按钮- (void)exitBtnClick{ // cancelButtonTitle 黑色 // destructiveButtonTitle 红色 // otherButtonTitles 灰白色 UIActionSheet *actionSheet = [[UIActionSheet alloc] initWithTitle:@"确定退出此账号?" delegate:nil cancelButtonTitle:@"取消" destructiveButtonTitle:@"红色" otherButtonTitles:@"其他", nil]; // UIActionSheet最好是显示到Window上面,这样就不怕点不中了,因为有时候控制器的view不一定占整个窗口大小 [actionSheet showInView:self.view.window];}// 点击 设置按钮- (void)setting{ log(@"设置");}// 代理方法,点击了某行时调用- (void)tableView:(UITableView *)tableView didSelectRowAtIndexPath:(NSIndexPath *)indexPath{ [tableView deselectRowAtIndexPath:indexPath animated:YES];}#pragma mark - 数据源方法// 共有多少组 最后一个组是特别的退出按钮,故不进入循环使用- (NSInteger)numberOfSectionsInTableView:(UITableView *)tableView{ return _groups.count - 1;}// 每一组的行数- (NSInteger)tableView:(UITableView *)tableView numberOfRowsInSection:(NSInteger)section{ // 取得由每一行组成的数组 NSArray *rows = _groups[section]; // 返回该组的行数 return rows.count;}// 每一组的每一行显示特有的内容- (UITableViewCell *)tableView:(UITableView *)tableView cellForRowAtIndexPath:(NSIndexPath *)indexPath{ static NSString *cellID = @"beyond"; // 1.先获得池中的cell UITableViewCell *cell = [tableView dequeueReusableCellWithIdentifier:cellID]; // 如果为空,才创建新的 if (cell == nil) { // 创建新的cell cell = [[UITableViewCell alloc] initWithStyle:UITableViewCellStyleDefault reuseIdentifier:cellID]; // 1.1.清除文本标签的背景 cell.textLabel.backgroundColor = [UIColor clearColor]; // 1.2.设置文本标签高亮时的文字颜色同样为默认的文字颜色 (不让它变色) cell.textLabel.highlightedTextColor = cell.textLabel.textColor; // 1.3.重点,创建时就,初始化cell的背景view和选中时的背景view UIImageView *bgImgView = [[UIImageView alloc] init]; cell.backgroundView = bgImgView; UIImageView *selectedBgImgView = [[UIImageView alloc] init]; cell.selectedBackgroundView = selectedBgImgView; } // 2.设置cell独一无二的内容 // 设置显示的标题文字 第几组-->第几行--->字典 cell.textLabel.text = _groups[indexPath.section][indexPath.row][@"name"]; // 3.设置cell的背景图片 // 先取出cell背景view UIImageView *bgImgView = (UIImageView *)cell.backgroundView; UIImageView *selectedBgImgView = (UIImageView *)cell.selectedBackgroundView; // 分情况得出cell的背景图片文件名 // 该组中,由每一行组成的数组 NSArray *rows = _groups[indexPath.section]; // 得到该组的,总行数 int rowNum = rows.count; NSString *name = nil; if (rowNum == 1) { // 如果所在组只有一行,使用四角全是半角的图片 name = @"common_card_background.png"; } else if (indexPath.row == 0) { // 如果所在组不只一行,且当前行是所在组的第一行,使用上半为圆角的图片 name = @"common_card_top_background.png"; } else if (indexPath.row == rowNum - 1) { // 如果所在组不只一行,且当前行是所在组的最后一行,使用下半为圆角的图片 name = @"common_card_bottom_background.png"; } else { // 中间 // 如果所在组不只一行,且当前行不在组的第一行也不在组的最后一行,使用四周无圆角的图片 name = @"common_card_middle_background.png"; } // 设置cell的正常和选中时的背景图片 bgImgView.image = [UIImage imageStretchedWithName:name]; selectedBgImgView.image = [UIImage imageStretchedWithName:[name fileNameInsertSuffixBeforeExtension:@"_highlighted"]]; // 4.设置最右边的箭头指示器,分文字和图片两种情况讨论 if (indexPath.section == 2) { // 如果是第2组 ,则显示文字,"阅读模式 - 主题" UILabel *label = [[UILabel alloc] init]; // 清除标签背景色 label.backgroundColor = [UIColor clearColor]; // 标签文字大小 label.font = [UIFont systemFontOfSize:13]; // 标签文字颜色 label.textColor = [UIColor grayColor]; // 标签文字靠右 label.textAlignment = NSTextAlignmentRight; // 标签frame的宽高 label.bounds = CGRectMake(0, 0, 100, 30); // 该组的第1行显示 "有图模式" ,第2行显示 "经典主题" label.text = (indexPath.row == 0) ? @"有图模式" : @"经典主题"; // 最后将自定义最右边的view设置为cell的附属view cell.accessoryView = label; } else { // 如果是其他的组,显示向右的图片箭头 cell.accessoryView = [[UIImageView alloc] initWithImage:[UIImage imageNamed:@"common_icon_arrow.png"]]; } // 5.返回cell return cell;}@end 『更多』页面的数据来源more.plist


