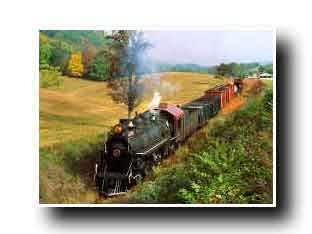
第一种 利用图象编辑软件
最常用的图象编辑软件是photoshop,制作过程如下:
1、选取一张图片;

2、打开photoshop,为该图片建立一背景复本图层;
3、对该图层进行描边和阴影设置;
4、调整画布大小;
5、将图片保持为jpg文件。见下图:

第二种 利用表格制作
请参看下列代码:
< html>
< head>
< title>表格图片阴影< /title>
< meta http-equiv="content-type" content="text/html; charset=gb2312">
< /head>
< body bgcolor="#ffffff" text="#000000">
< table width="263" border="0" cellspacing="0" cellpadding="0" height="203">
< tr>
< td valign="top" width="243" height="183" colspan="2" rowspan="2">< img src="/files/beyondpic/oldjcwimg/2005-11/15/05111512072934856.jpg" width="240" height="180">< /td>
< td width="20" height="20">< /td>
< /tr>
< tr>
< td width="20" height="163" bgcolor="#000000" style="filter:alpha(opacity=100, finishopacity=0, style=1, startx=0, starty=0, finishx=100, finishy=0) alpha(opacity=100, finishopacity=0, style=1, startx=0, starty=10, finishx=0, finishy=0)">< /td>
< /tr>
< tr>
< td width="20" height="20">< /td>
< td width="223" height="20" bgcolor="#000000" style="filter:alpha(opacity=100, finishopacity=0, style=1, startx=0, starty=0, finishx=0, finishy=100) alpha(opacity=100, finishopacity=0, style=1, startx=10, starty=0, finishx=0, finishy=0)">< /td>
< td width="20" height="20" bgcolor="#000000" style="filter:alpha(opacity=100, finishopacity=0, style=1, startx=0, starty=0, finishx=0, finishy=100) alpha(opacity=100, finishopacity=0, style=1, startx=0, starty=0, finishx=100, finishy=0)">< /td>
< /tr>
< /table>
< /body>
< /html>
新闻热点
疑难解答