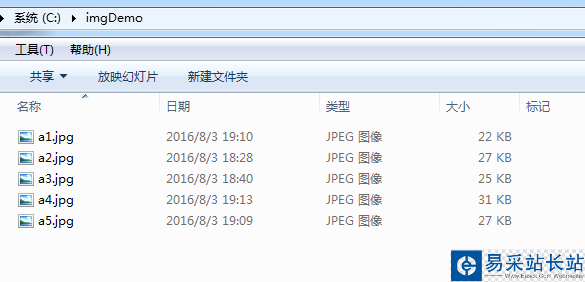
本文实例讲述了Python实现批量修改图片格式和大小的方法。分享给大家供大家参考,具体如下:
第一种方法用到opencv库
import osimport timeimport cv2def alter(path,object): result = [] s = os.listdir(path) count = 1 for i in s: document = os.path.join(path,i) img = cv2.imread(document) img = cv2.resize(img, (20,20)) listStr = [str(int(time.time())), str(count)] fileName = ''.join(listStr) cv2.imwrite(object+os.sep+'%s.jpg' % fileName, img) count = count + 1alter('C://imgDemo','C://imgDemo1')第二种方法用到PIL库
import osimport timefrom PIL import Imagedef alter(path,object): s = os.listdir(path) count = 1 for i in s: document = os.path.join(path,i) img = Image.open(document) out = img.resize((20,20)) listStr = [str(int(time.time())), str(count)] fileName = ''.join(listStr) out.save(object+os.sep+'%s.jpg' % fileName) count = count + 1alter('C://imgDemo','C://imgDemo1')运行上述代码可得到C:/imgDemo目录下对应批量生成的20*20大小的图片。
运行效果如下:


更多关于Python相关内容感兴趣的读者可查看本站专题:《Python文件与目录操作技巧汇总》、《Python数据结构与算法教程》、《Python函数使用技巧总结》、《Python字符串操作技巧汇总》及《Python入门与进阶经典教程》
希望本文所述对大家Python程序设计有所帮助。
新闻热点
疑难解答