实验环境
一台最小化安装的CentOS 7.3虚拟机
配置基本环境
1. 安装nginx
yum install -y epel-*yum isntall -y nginx vim
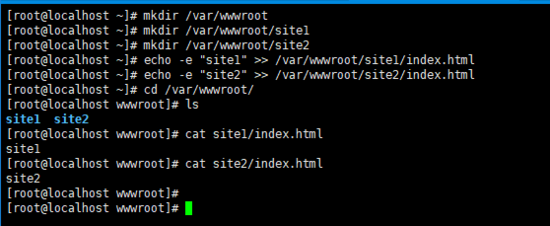
2. 建立虚机主机的站点根目录
mkdir /var/wwwrootmkdir /var/wwwroot/site1mkdir /var/wwwroot/site2echo -e "site1" >> /var/wwwroot/site1/index.htmlecho -e "site2" >> /var/wwwroot/site2/index.html

3. 关闭CentOS的防火墙
setenforce 0systemctl stop firewalldsystemctl disable firewalld

配置基于端口的虚拟主机
1. 编辑nginx配置文件
vim /etc/nginx/conf.d/vhosts.conf
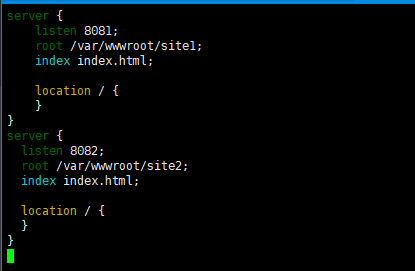
2. 添加以下内容
server { listen 8081; root /var/wwwroot/site1; index index.html; location / { }}server { listen 8082; root /var/wwwroot/site2; index index.html; location / { }} 
3. 启动 nginx 服务
4. 在宿主机访问两个站点
http://192.168.204.135:8081/
http://192.168.204.135:8082/


配置基于域名的虚拟主机
1. 重新编辑nginx配置文件
vim /etc/nginx/conf.d/vhosts.conf
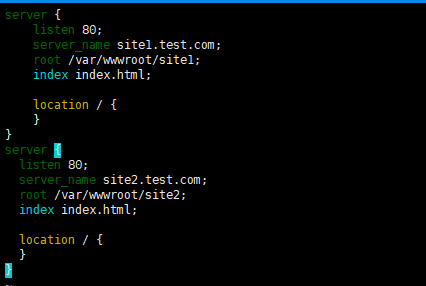
2. 删除原内容,重新添加以下内容
server { listen 80; server_name site1.test.com; root /var/wwwroot/site1; index index.html; location / { }}server { listen 80; server_name site2.test.com; root /var/wwwroot/site2; index index.html; location / { }} 
3. 重启 nginx 服务
4. 在Windows上修改 hosts 文件
编辑 C:/Windows/System32/drivers/etc/hosts 文件,
添加以下内容(根据实际情况自己修改)
192.168.204.135 site1.test.com
192.168.204.135 site2.test.com

5. 在宿主机访问两个站点
http://site1.test.com/
http://site2.test.com/


配置基于IP的虚拟主机
1. 在虚拟机增加两个IP地址
ifconfig ens33:1 192.168.204.151ifconfig ens33:2 192.168.204.152
2. 重新编辑nginx配置文件
vim /etc/nginx/conf.d/vhosts.conf
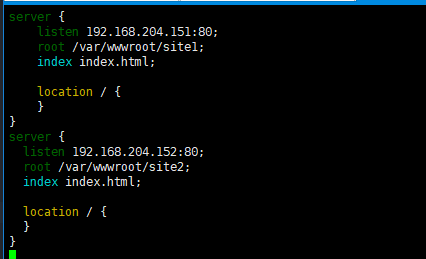
3. 删除原内容,重新添加以下内容
server { listen 192.168.204.151:80; root /var/wwwroot/site1; index index.html; location / { }}server { listen 192.168.204.152:80; root /var/wwwroot/site2; index index.html; location / { }} 
4. 重启 nginx 服务
5. 在宿主机访问两个站点
http://192.168.204.151/
http://192.168.204.152/


以上就是本文的全部内容,希望对大家的学习有所帮助,也希望大家多多支持VEVB武林网。
注:相关教程知识阅读请移步到服务器教程频道。