本节教程将讲解扩展包开发和Artisan扩展开发,并浏览不同分辨率下的自适应效果。本节结束后整个教程就结束了,文章最后有完整版html' target='_blank'>程序代码的下载。
在前面开发中,我们经常要用到通知,如修改用户信息时视图要写
@if (Session::has('message')) <div class='am-alert am-alert-{{ Session::get('message')['type'] }}' data-am-alert> <p>{{ Session::get('message')['content'] }}</p> </div>@endif在业务逻辑代码中需要使用
return Redirect::route('user.edit', $id)->with('user', $user)->with('message', array('type' => 'success', 'content' => 'Modify successfully'));现在我们这里实现一个简单的通知插件,先创建包:
$ php artisan workbench shiyanlou/notification --resources这时会在项目根目录下多一个名为workbench的目录,里面存放的就是刚才创建的包,我们进入shiyanlou/notification目录,src/Shiyanlou/Notification目录是所有class的主目录,包括ServiceProvider。config、lang、migrations和views目录,就如你所猜测,包含了你创建的包的相应资源。包可以包含这些资源中的任意几个,就像一个”常规”的应用。
修改下包里composer.json中的authors:
'authors': [ { 'name': 'shiyanlou', 'email': 'support@shiyanlou.com' }]在项目根目录下执行:
$ php artisan dump-autoload然后我们在app/config/app.php中的providers中增加:
'ShiyanlouNotificationNotificationServiceProvider',这步做完后启动开发服务器:
$ php artisan serve如果启动成功,就说明扩展包的基础就搭建完成了。
现在我们在src/Shiyanlou/Notification下创建一个名为Notification.php的文件,修改:
<?php namespace ShiyanlouNotification;use IlluminateSessionStore as SessionStore;class Notification { private $session = null; public function __construct(SessionStore $session) { $this->session = $session; } private function addMessage($type, $content) { $this->session->put('notification_message', '<div class='am-alert ' . $type . '' data-am-alert><p></p>' . $content . '</div>'); } public function primary($content) { $this->addMessage('am-alert-primary', $content); } public function secondary($content) { $this->addMessage('am-alert-secondary', $content); } public function success($content) { $this->addMessage('am-alert-success', $content); } public function warning($content) { $this->addMessage('am-alert-warning', $content); } public function danger($content) { $this->addMessage('am-alert-danger', $content); } public function show() { echo $this->session->pull('notification_message', ''); }}上面用到了Session,Session表示一次会话,就是从你打开浏览器窗口到关闭。
修改NotificationServiceProvider.php中的register()和provides():
public function register(){ $this->app['notification'] = $this->app->share(function($app) { return new Notification($this->app['session.store']); });}public function provides(){ return array('notification');}上面是向Ioc容器注册类。
然后在src/Shiyanlou/Notification下创建一个名为Facades的文件夹,在Facades目录下创建一个名为Notification.php的文件,修改:
<?php namespace ShiyanlouNotificationFacades;use IlluminateSupportFacadesFacade;class Notification extends Facade { protected static function getFacadeAccessor() { return 'notification'; }}我们这里继承了Facade类,用Facades可以访问IoC容器中注册的类,有了IoC容器,我们可以在任何地方调用注册的类。
为了方便我们的使用,我们在app/config/app.php的aliases中增加一个别名:
'Notification' => 'ShiyanlouNotificationFacadesNotification',下面就来试试这个插件,把上面的
@if (Session::has('message')) <div class='am-alert am-alert-{{ Session::get('message')['type'] }}' data-am-alert> <p>{{ Session::get('message')['content'] }}</p> </div>@endif替换成
{{ Notification::show() }}把
return Redirect::route('user.edit', $id)->with('user', $user)->with('message', array('type' => 'success', 'content' => 'Modify successfully'));替换成
Notification::success('Modify successfully');return Redirect::route('user.edit', $id);现在修改用户信息后提示成功的信息就能方便地显示出来:
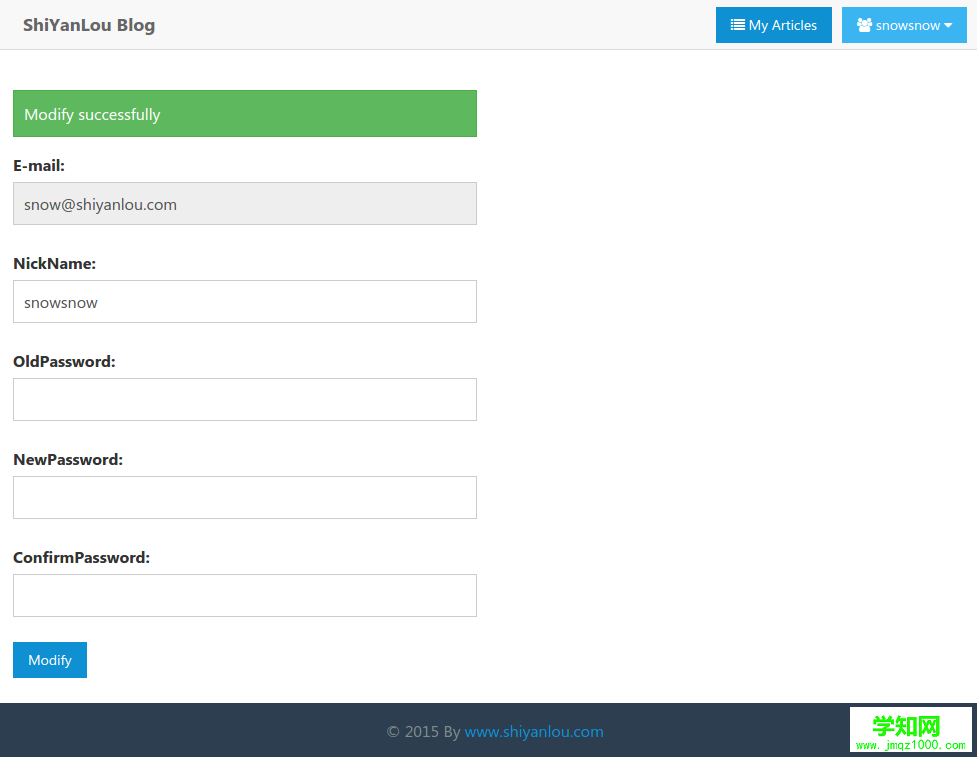
简单的扩展包开发就完成了。
2.Artisan扩展开发Artisan是Laravel中自带的命令行工具的名称,它提供了一些开发过程中有用的命令。我们可以编写自己的Artisan命令完成特定的功能,这里举一个开发导出用户数据的命令。首先我们创建一个新的命令类:
$ php artisan command:make ExportUsersCommand执行完后我们会发现在app/commands生成了一个ExportUsersCommand.php的文件,这个就是我们自定义的命令类,然后我们需要注册命令,在app/start/artisan.php中增加:
Artisan::add(new ExportUsersCommand);下面编写ExportUsersCommand类,把$name的值改为export:users,这个$name是命令的名称,把$description的值改为Export all users,这个是命令的描述,然后添加一个获取用户数据的方法:
protected function getUsersData(){ $users = User::all(); foreach ($users as $user) { $output[] = [$user->id, $user->email, $user->nickname, $user->is_admin, $user->block, $user->created_at]; } return $output;}然后编写getArguments()和getOptions():
protected function getArguments(){ return array( array('file', InputArgument::OPTIONAL, 'The output file path', null), );}protected function getOptions(){ return array( array('headers', null, InputOption::VALUE_NONE, 'Display headers?', null), );}getArguments与getOptions方法是用来接收要传入您的自定义命令的地方,这两个方法都会回传一组命令数组,并由数组清单所组成。
下面开始编写fire():
public function fire(){ $output_path = $this->argument('file'); $headers = ['ID', 'E-mail', 'NickName', 'is_admin', 'is_block', 'CreateDateTime']; $rows = $this->getUsersData(); if ($output_path) { $handle = fopen($output_path, 'w'); if ($this->option('headers')) { fputcsv($handle, $headers); } foreach ($rows as $row) { fputcsv($handle, $row); } fclose($handle); $this->info('Exported list to $output_path'); } else { $table = $this->getHelperSet()->get('table'); $table->setHeaders($headers)->setRows($rows); $table->render($this->getOutput()); }}当自定义命令被执行时,将会调用fire方法,你可以在此加入任何的逻辑判断。
现在就可以测试我们自己开发的命令了,先执行:
$ php artisan export:users执行后会在命令行终端输出用户列表,我们试试导出到一个文件:
$ php artisan export:users --headers users.csv执行后终端会输出Exported list to users.csv,在项目根目录下会生成一个名为users.csv的文件,你可以用表格软件或者直接打开,里面存放的就是用户的数据列表。
3.自适应效果让我们看下在低分辨率下的自适应效果
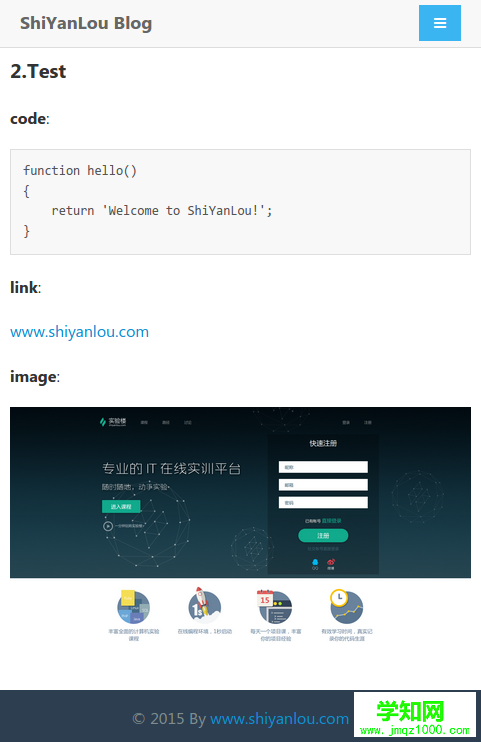
首页
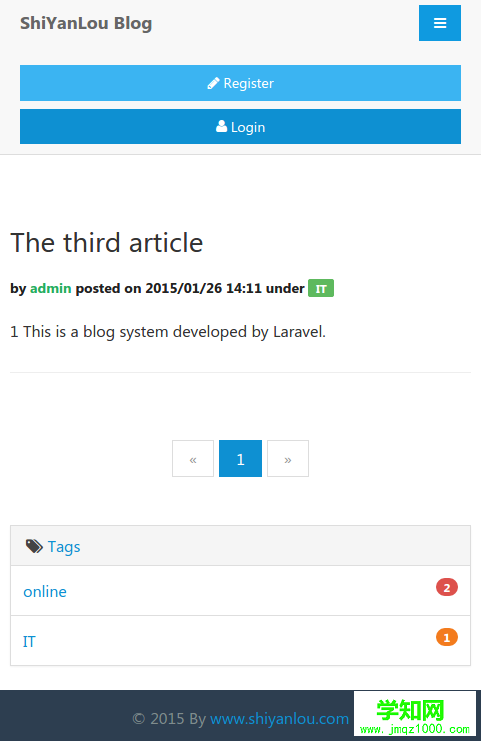
文章内容页面
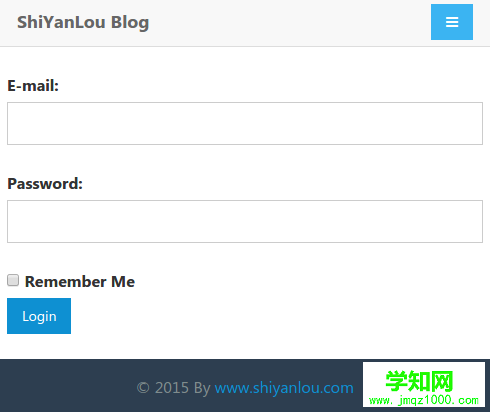
登录页面
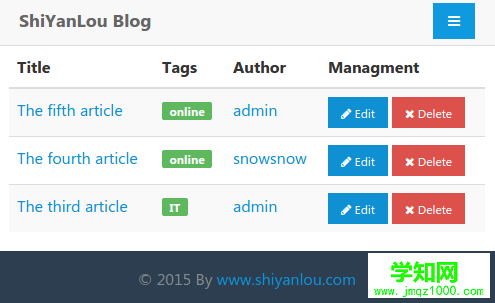
文章管理页面
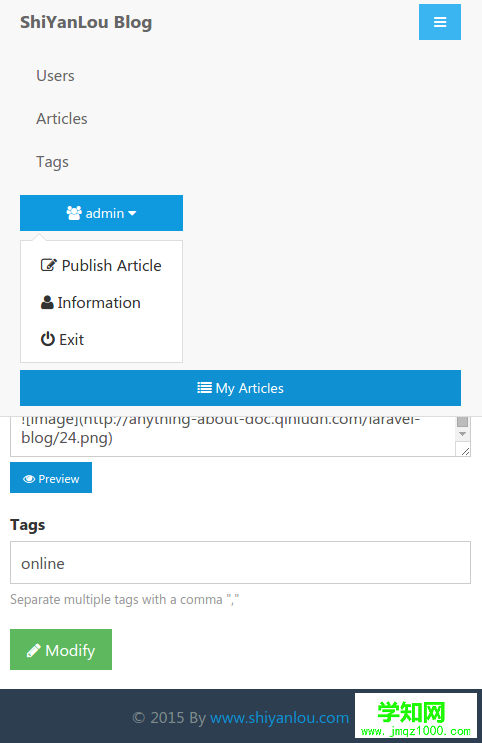
编辑文章页面
4.小结本节教程介绍了怎么进行扩展包和Artisan开发,本套教程也就此结束了,你可以继续完善这个博客,此教程仅仅只是做一个引入人,你完全可以用Laravel开发自己想要的网站,Laravel中的缓冲、Mail、本地化和队列等还没有提到,这就需要你自己去探索了,最后推荐一个开发环境Laravel Homestead,我们可以非常方便地在其中开发Laravel。
最终版代码下载:
$ git clone http://github.com/shiyanlou/laravel-blog-7-final.git本文详细出自http://www.shiyanlou.com/courses/123,转载请注明出处
郑重声明:本文版权归原作者所有,转载文章仅为传播更多信息之目的,如作者信息标记有误,请第一时间联系我们修改或删除,多谢。
新闻热点


疑难解答